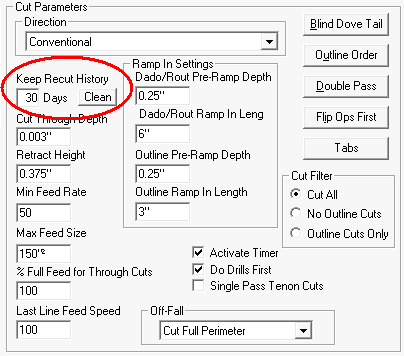
The Recut feature allows the user to print labels for each part that contain a barcode for recutting the part. The parts are stored in a history database. This database is flushed of jobs that go beyond the days entered in Keep Recut History.

The barcode appears at the bottom of the label when a Crystal Report file that contains "recut" in the file name is selected. See Printing for a description of the label reports provided.
To load the part for recut you can either scan the barcode or enter the number in the Load Screen. Scanning from the Main screen of Control Nesting is also allowed. You can also scan the barcode from THM main screen if the version of THM is 7.4.7 or higher.
When a part is loaded in the Load screen it will be under the job name it originally came from with a ® in front of the name and a date and time stamp.
The "Clean" button is for clearing all recut parts in history. This actually does a file delete of all the history databases. If you are experiencing recut problems, using this option make repair the issue. Be aware that all recut data is gone when this is performed.